How to Choose a Backpacking Tent?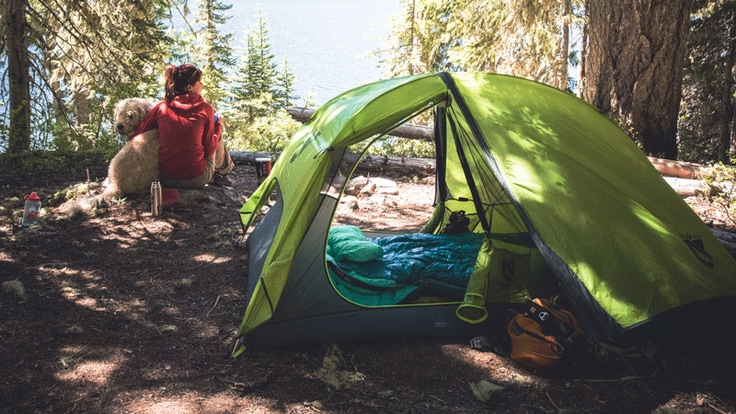
Choosing the right backpacking tent is a crucial decision that can greatly impact both your budget and the weight you carry. With the wide variety of designs available, it can be overwhelming to make a selection. To simplify the process, consider the following factors:
Capacity
Determine the likely number of sleepers in the tent. Backpacking tents are categorized by capacity, such as 1-person to 4-person models. Keep in mind that tent sizes can vary among brands, so compare dimensions and consider a tent slightly larger than your group. If you’re larger than average, or you simply crave a little more space, one option is to look at tents designated for one person larger than your group. Alternatively, you can hunt for a tent that’s one or two inches wider or longer than average. Some offer clues in the name: adding a “plus,” for example. Always compare exact dimensions between tents you’re considering, though, if having more floor space is important to you.
Seasonality
Decide on the tent construction based on expected weather conditions. Most backpackers opt for 3-season tents, which can handle spring, summer, and fall conditions. Extended-season tents offer slightly more durability and are suitable for early spring or late fall trips. 4-season mountaineering tents are designed to withstand harsh winter conditions but may lack ventilation in milder weather.
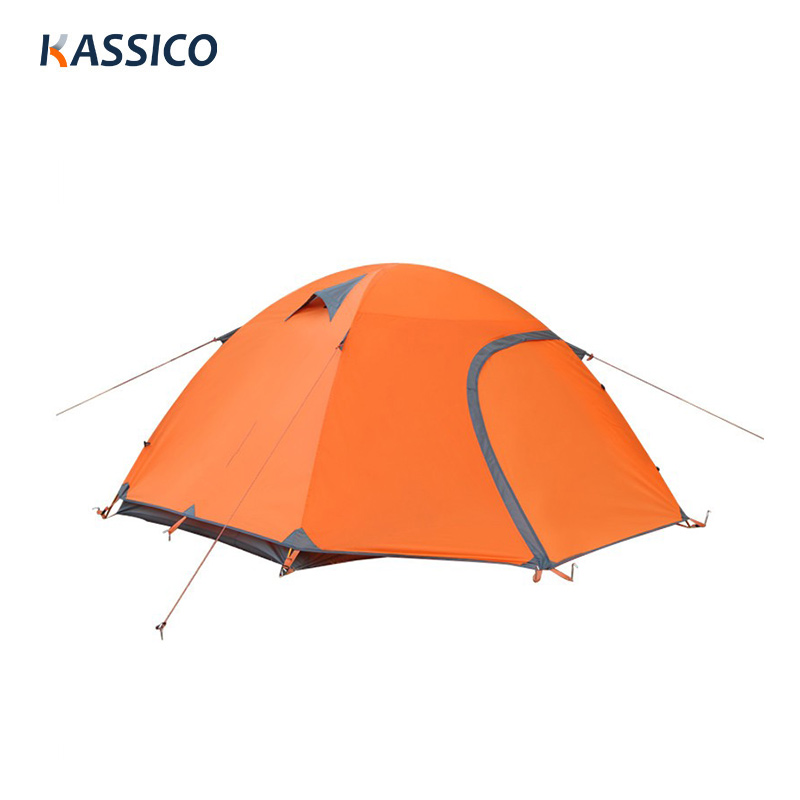
3-Season Backpacking Tents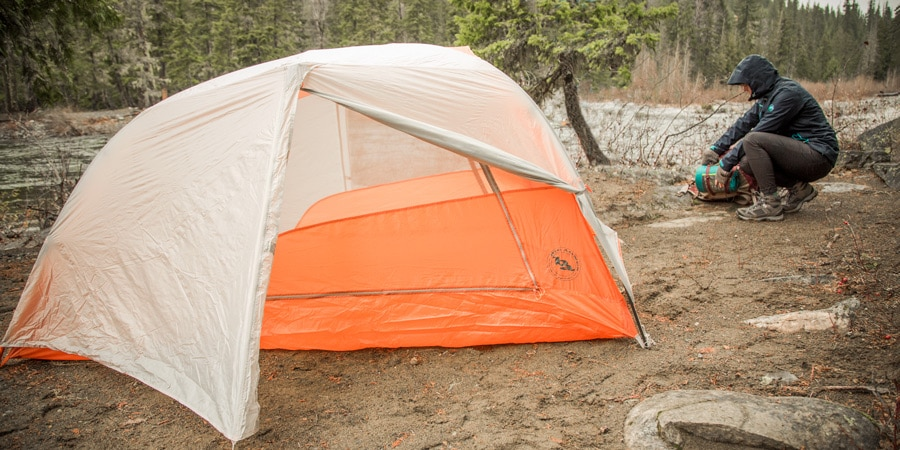
These tents balance the need to keep weight low with the need to handle the wide range of conditions that spring, summer, and fall can conjure up. Properly pitched, 3-season tents can withstand downpours and light snow but are not built for sustained exposure to harsh storms, violent winds, or heavy snow. Key features:
Extended-Season Backpacking Tents (3-4 or 3+ Season)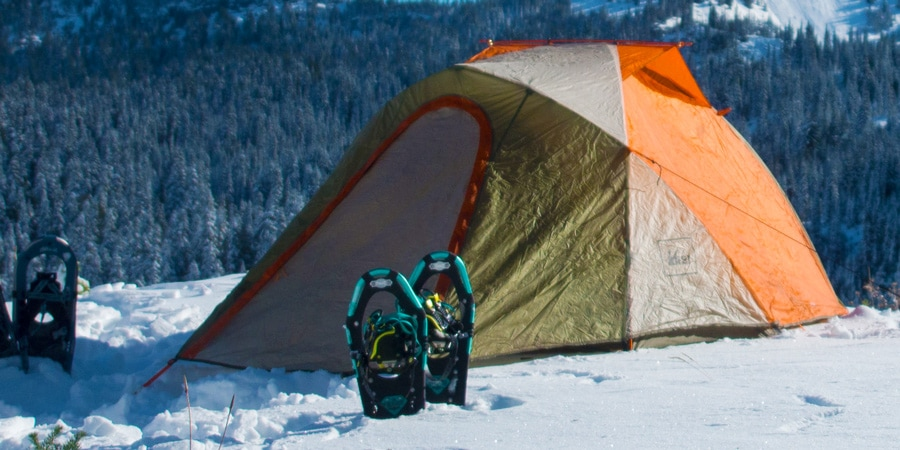
These tweener tents are suitable for summer use but also for trips in early spring and late fall when snow may be encountered. They’re also good for trips to exposed, high-elevation destinations where snow can surprise you. Key features (compared to pure 3-season models):
4-Season Mountaineering Tents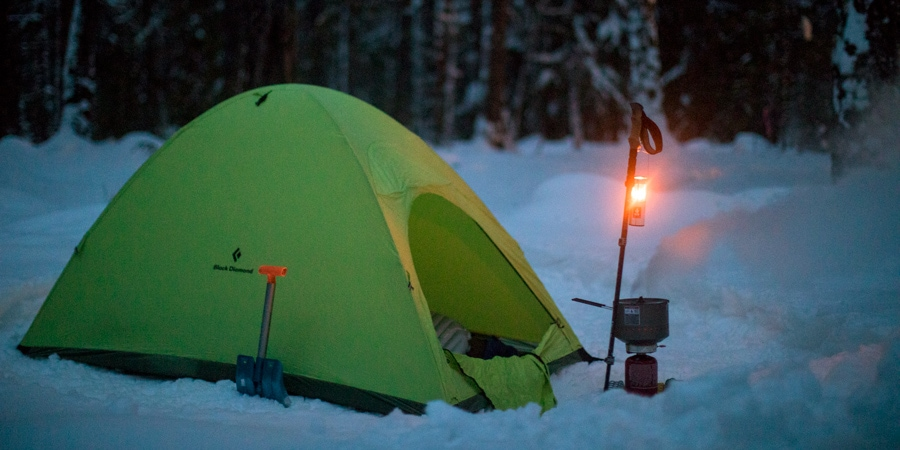
These winter tents are engineered to withstand fierce winds and substantial snow loads; however, they have less ventilation and can feel stuffy in mild weather. Key features (compared to 3-season and extended-season models):
Four-season tents also include lightweight single-wall tents that have waterproof/breathable walls and no rainfly. In humid conditions, condensation can accumulate inside, so a single-wall tent is best for cold, dry conditions.
Weight
Consider the weight of the tent about the ounces you carry, and the dollars spent. Tent designers strive to keep the weight low without sacrificing durability. Ultralight tents are available but may have less space and fewer features. Compare the minimum trail weight (tent body, rainfly, and poles only) to make accurate comparisons between tents.
The weight of your backpacking tent is a big part of your overall load, so tent designers work hard to keep the weight low. Your biggest tradeoffs to cut weight are having less space, fewer features, and less durability over the long haul. If you choose carefully, though, you should be able to find a lightweight tent that feels reasonably roomy and comfortable to you.
Key Tent Specs
Minimalist Shelters
Most backpacking tents have a double-wall design that includes a main tent body (also known as the canopy) plus an exterior rainfly. If you’re a hiker who focuses on saving every possible ounce, you have additional options.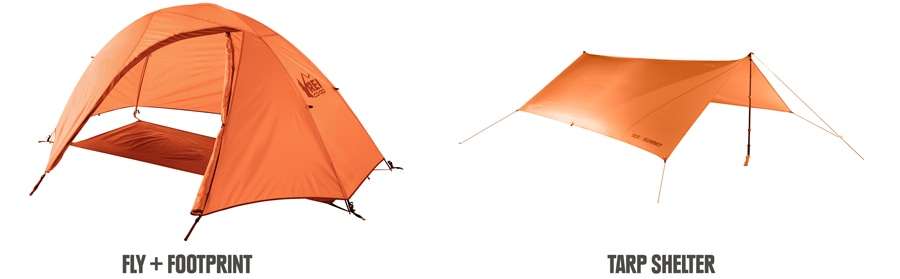
Fly/footprint option: Many double-wall tents have an ultralight setup option, where the footprint (sold separately), poles, and rainfly can be pitched together without the main tent canopy.
Tarp shelters: This catchall category includes ultralight rainfly that shields you from rain and snow, but not bugs or damp ground.
Livability: Evaluate the interior space, ease of access, and setup process to enhance your experience inside the tent. Test-pitch tents, if possible, to assess their comfort and headroom. Look at floor dimensions, floor area, peak height, and wall shape to determine how roomy a tent feels. Additional features like rainfly color, doors, vestibules, and ventilation can improve livability.
To further assess a tent’s interior space, you can also look at the following specs: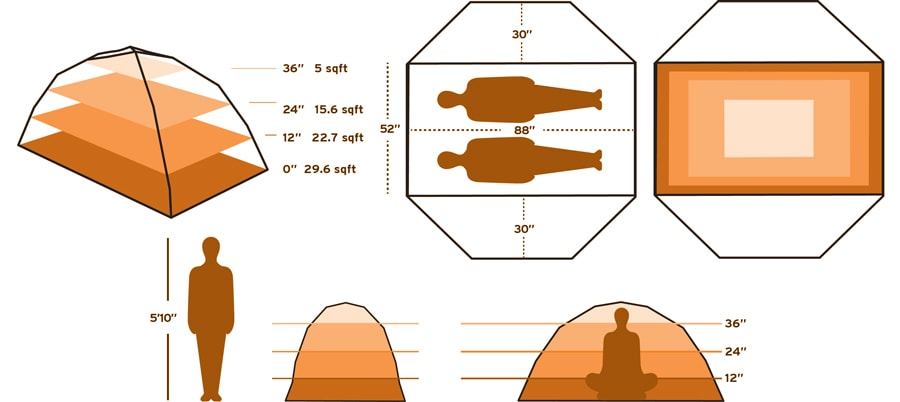
Floor dimensions (floor plan): Length and width measurements offer a rough idea of floor size. Many tents don’t have perfectly rectangular floors, so you might see dimensions like 85” x 51”/43” (L x W head/foot). A tapered floor provides needed room for shoulders and arms, while also saving weight by having a narrower foot.
Floor area: This number indicates the total square footage of floor-level space. While helpful for comparison between tents, this number alone won’t tell you how efficiently the space is laid out.
Peak height: No one likes to bump their head when they sit up. Peak height, though, is measured at a single spot, so don’t rely solely on this spec to assess overall headroom. The test pitch (noted above) is a much better way to assess that.
Wall shape: This is an even bigger factor in head and shoulder room—and overall tent livability—than peak height. The more vertical the walls, the more open the tent’s interior will feel. If you’re unable to go to a store to test pitch tents, then study the pitch of a tent’s walls in online photos: If they angle steeply toward the tent's ceiling, you're looking at a more weight-efficient tent (great!) that offers only modest interior volume (the tradeoff).
Setup
Consider the tent's setup process, including freestanding design (which allows for easier repositioning) and pole hubs (which simplify assembly). Pole clips are lighter and easier to attach than pole sleeves, while color coding helps with orientation. Familiarize yourself with the setup instructions before using the tent in the wilderness.
Freestanding design: This simply means the tent can stand without the use of stakes, which speeds setup and makes a tent easy to reposition—just lift and move it to a new spot. Most tents are freestanding for this reason, though non-freestanding tents can be lighter because the pole structure doesn’t have to be as robust.
Pole hubs: The beauty of hubs is that they take the guesswork out of assembly. You take the folded pole sections out of the duffel bag and unfurl the skeleton, seating segments as you go. Smaller cross poles might be separate from the hub, but those are easily identified after the main pole assembly is complete. The other major benefit of hubs is that they allow tent walls to be more vertical to create a more livable interior space.
Pole clips: Poles connect to tent canopies via clips, sleeves, or a combination of the two. Pole sleeves’ fabric tension provides a stronger pitch, but threading poles through them can be a challenge. Pole clips are lighter and easier to attach. They also allow more airflow underneath the rainfly, which reduces condensation.
Color coding: This helps you quickly orient each pole tip to the correct tent corner and helps you find which sleeves or clips go with which pole sections.
Tent Materials: Pay attention to the materials used in the tent. High-strength, low-weight aluminum poles are common. Tent fabrics can vary in denier, which indicates the yarn's weight and affects durability. Strength is also influenced by design architecture, with 4-season tents generally being stronger than 3-season tents.
Poles: Backpacking tents have high-strength, low-weight aluminum poles. You often see DAC (Dongah Aluminum Corp.) in specs because this company is the world’s pre-eminent pole maker.
Tent fabrics and deniers: A wide range of specialized nylons and polyesters are used in tents. One spec you occasionally see is denier (D), which is a fabric yarn’s weight (in grams) based on a 9,000-meter length of the yarn. More rugged fabrics have higher denier numbers, while lower deniers are found in more lightweight and less durable fabrics. Don’t compare deniers unless fabrics are identical, though, because inherent differences in fabric properties have a greater effect on strength than the denier spec.
Tent strength
The strongest tents have strong poles and fabrics, and combine them in sturdy design architectures. The only spec that relates to strength, though, is a tent’s seasonal rating—a 4-season tent will be stronger than a 3-season tent.
By considering these factors, you can make an informed decision when choosing a backpacking tent that suits your needs and preferences.