There’s nothing quite like the great outdoors, the smell of fresh air, the thrill of adventure, and the unexpected…rain.
If you’ve ever found yourself staring at a heap of tent poles and canvas with rain pouring down, you know the struggle.
It’s a scenario that would dampen even the most enthusiastic camper’s spirit.
But don’t let the rain clouds steal your thunder!
We’re going to tackle this common camping conundrum together, offering practical tips and solutions to turn what could be a soggy disaster into a triumph against the elements.
By the end of this guide, setting up a tent in the rain will be just another part of the adventure.
So, grab your waterproof jacket, and let’s dive in!

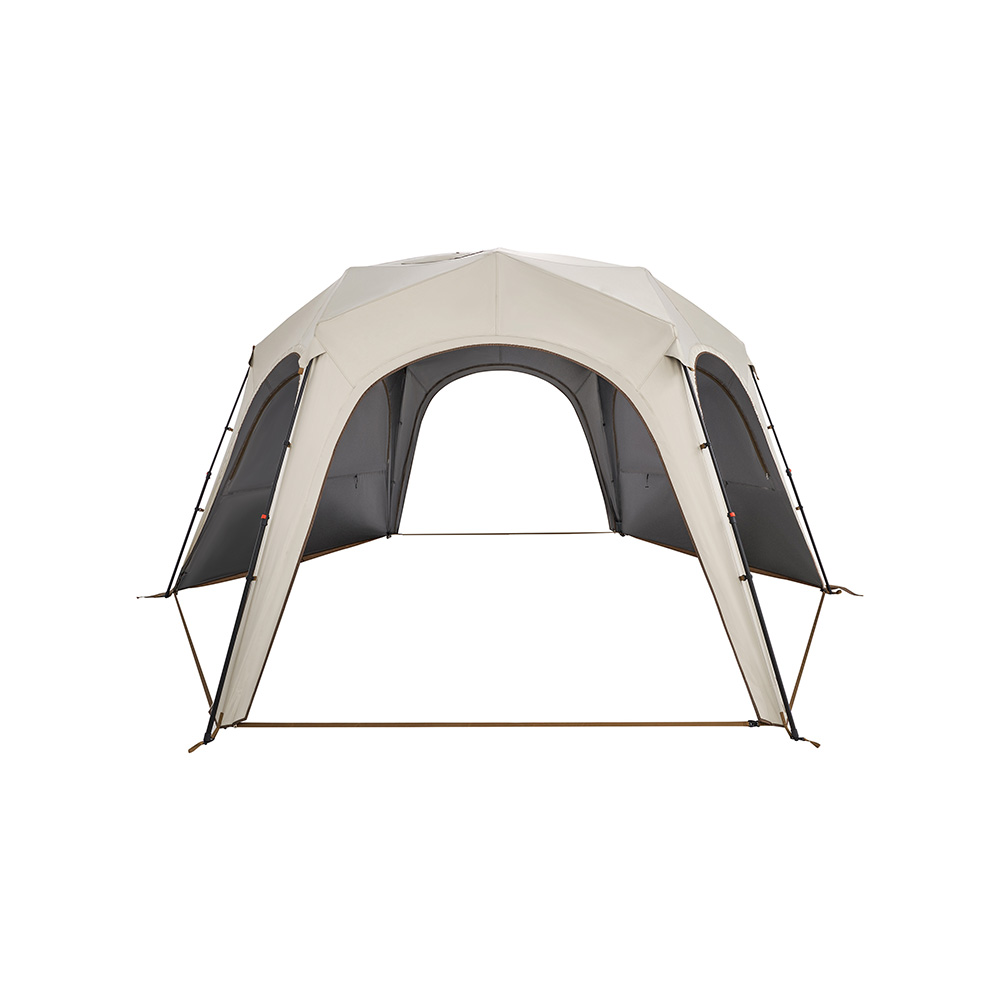
When it’s raining, you’ll want to set up your tent in an elevated and sheltered area to prevent water from pooling under your tent.
This distance will prevent your campsite from getting flooded in case of heavy rain or rising water levels.

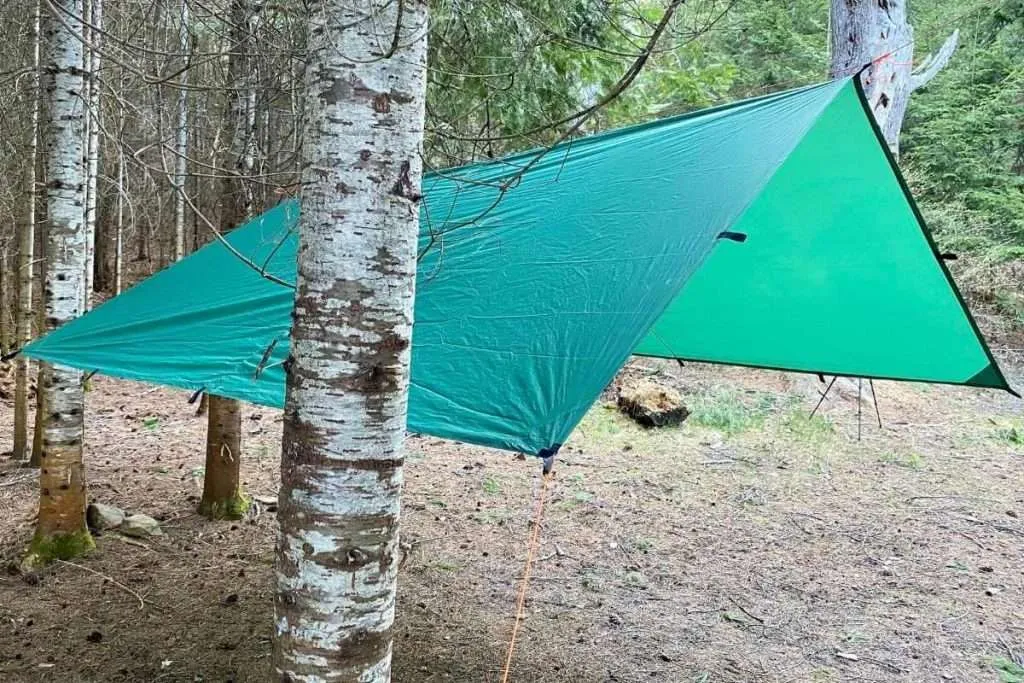
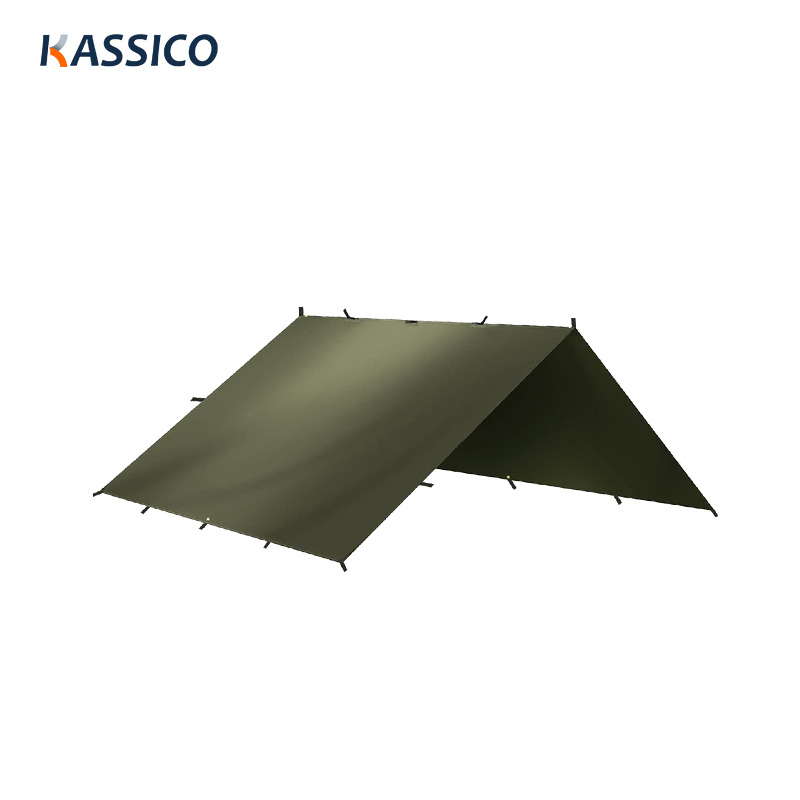
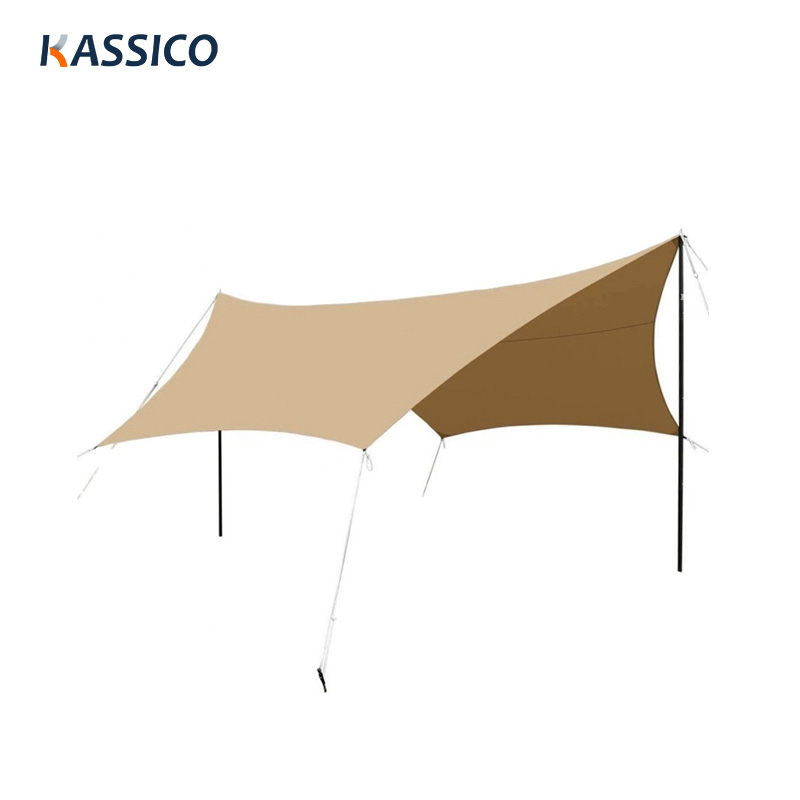
When setting up a tent in the rain, an A-frame tarp shelter can be a lifesaver.
This simple and effective structure protects your tent from rain and wind, significantly reducing the chances of getting soaked.
So, let’s get right into how you can set it up.
And that’s it! Your A-frame tarp shelter is now set up, ready to keep you and your tent dry during rainy camping adventures.
Remember, having a basic understanding of knots and tarp shelters can greatly enhance your camping experience, especially in less-than-ideal weather conditions.
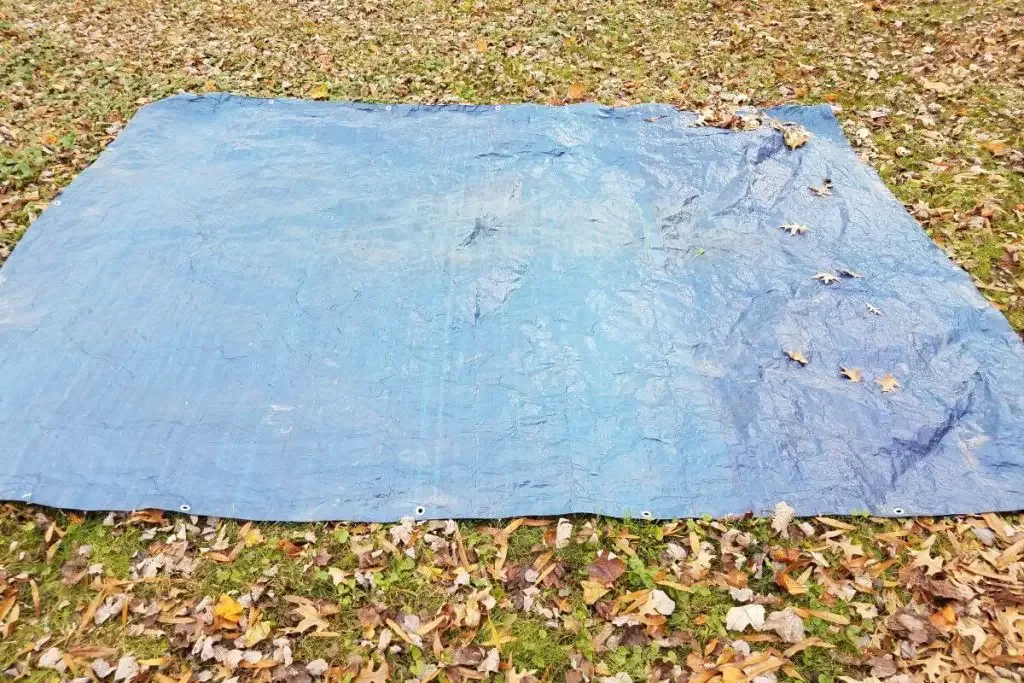
When setting up your tent in the rain, spreading a waterproof groundsheet is a crucial step.
This will not only protect the tent’s floor but also keep you dry and comfortable.
The size and shape of the groundsheet should match your tent’s floor, so it doesn’t extend beyond the tent edges.
If it does extend, it may collect rainwater and channel it under your tent.
In case the sheet is larger, fold the edges so they’re inside the tent’s boundary.
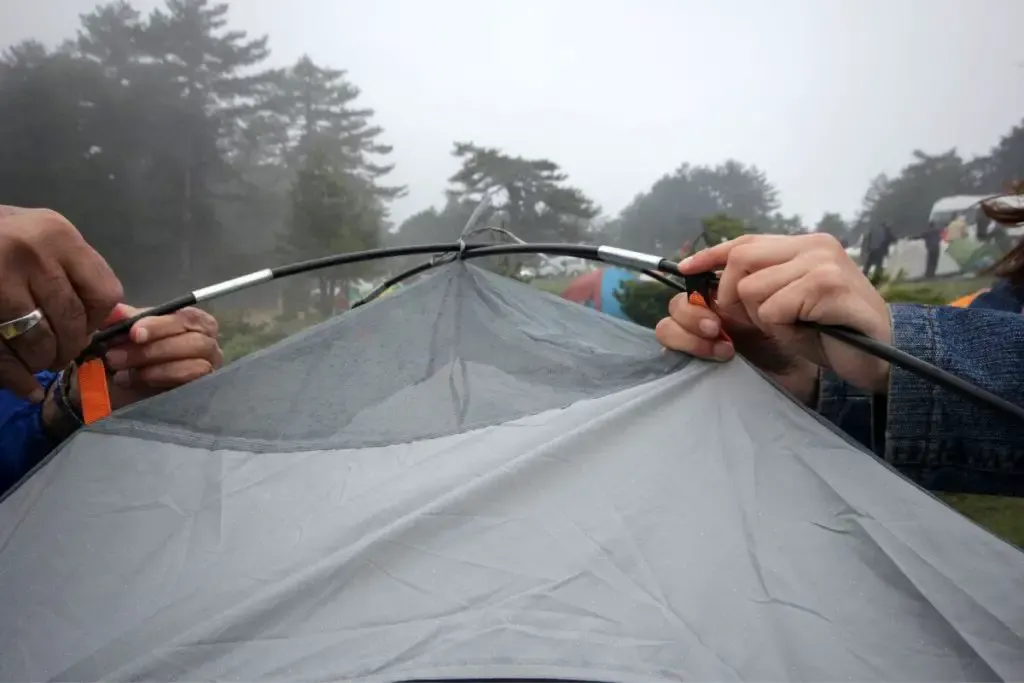
Now, with the groundsheet in place, you can start setting up your tent.
If your tent has a “fast pitch” option, it’s a good time to use it.
You might need a special groundsheet with grommets for the tent poles.
This will help you speed up the process and minimize the exposure of your tent’s interior to the rain.
Once your tent is pitched, don’t forget to double-check the groundsheet placement.
Make sure there are no wrinkles or folds that could trip you up or cause water to pool inside the tent.
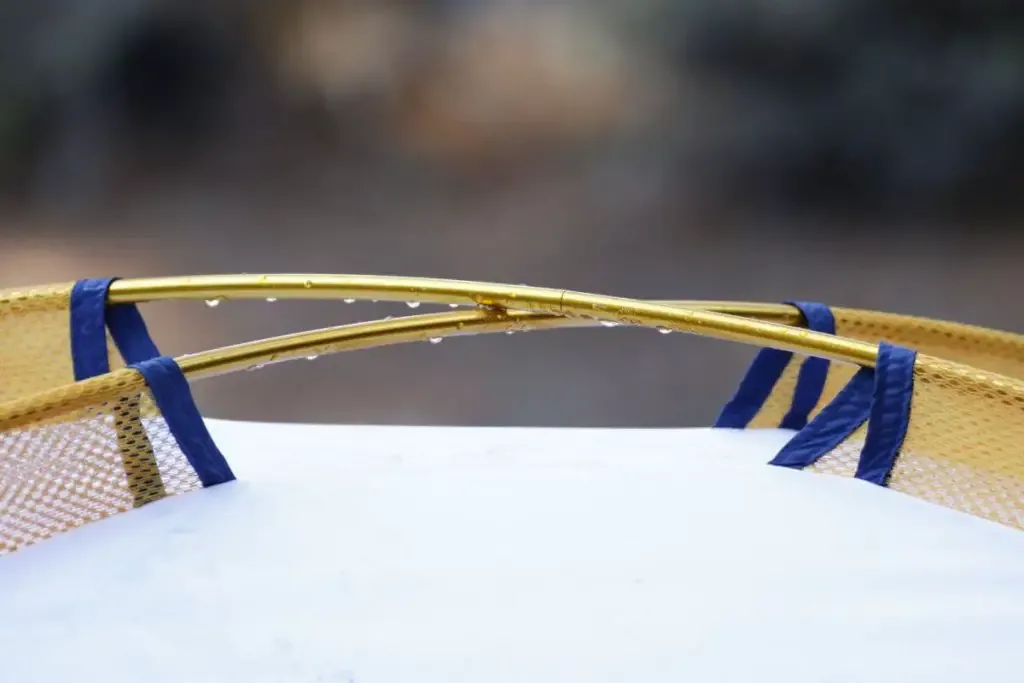
Now, it’s time to assemble the tent poles.
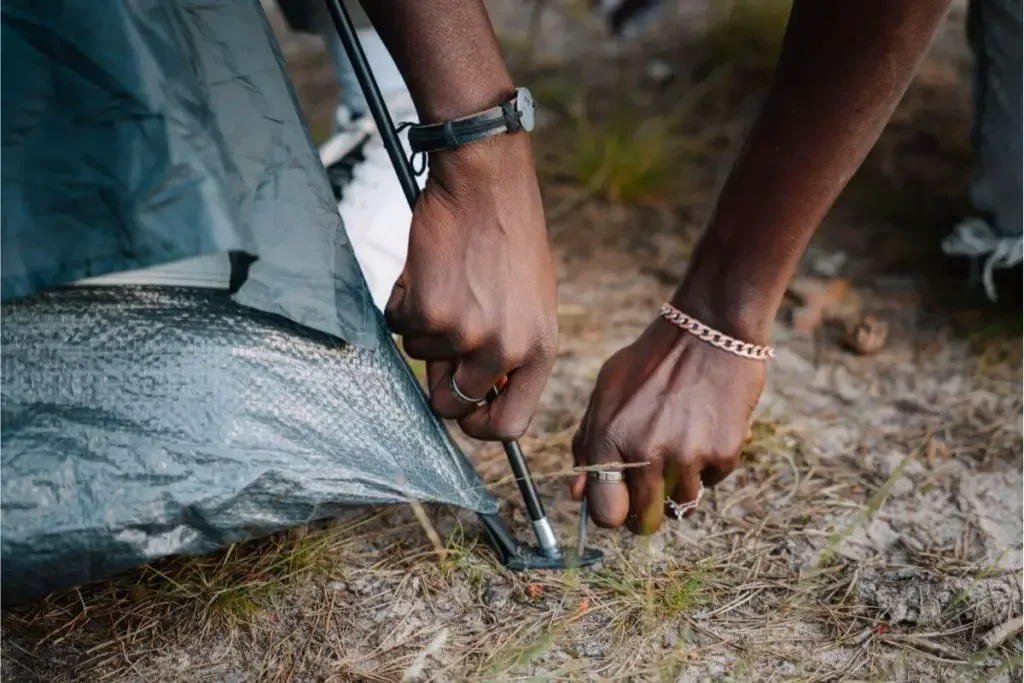
Rain or shine, it’s always important to properly secure it to the ground.
Begin by staking the tent corners first.
Use durable tent stakes that can withstand wet ground and windy conditions.
Angle them away from the tent to create a stronger hold on the ground.
Firmly attach guylines to the tent’s guy-out loops, typically found on the corners and along the edges of the rain fly – these loops help reinforce your tent in strong winds.
Next, attach the rain fly to the tent’s poles and stake it down securely.
Remember to keep the rain fly taut to avoid pooling water on the surface.
After securing the fly, adjust and tighten the guylines for additional support and stability.
The guylines should be pulled tightly, but make sure not to apply too much tension to avoid damaging the tent or rain fly.
If you can’t use stakes or the ground is too saturated, you have a few alternative options.
You can weigh the tent down with rocks or logs, tie the tent to a tree or a heavy object, or even make your own tent stakes using sticks.
Ensure the edges of the groundsheet are tucked under the tent, so water doesn’t pool on top of the tarp and underneath your tent.
We also want to remind you that ventilation is crucial, even in rainy weather.
So, ensure the rainfly’s vents are open and facing away from the direction of the rain.
This will help prevent condensation build-up inside your tent, while still providing some fresh airflow.
Remember to keep a towel handy for wiping off any moisture that may have gotten inside while you were setting up.
Finally, don’t forget to check your tent throughout your rainy campout.
Keep an eye on the guylines and stakes, and adjust them as needed to maintain stability and ensure your tent stays secure during your rainy adventure.
When you’re setting up a tent in the rain, it’s important to act quickly to keep your gear dry.
With the tent and tarp in place, you can start unpacking your gear.
Open your bags under the tarp, and after making sure all your gear is dry, transfer everything into the tent.
As you move items into the tent, organize them so that you can easily find and use them later.
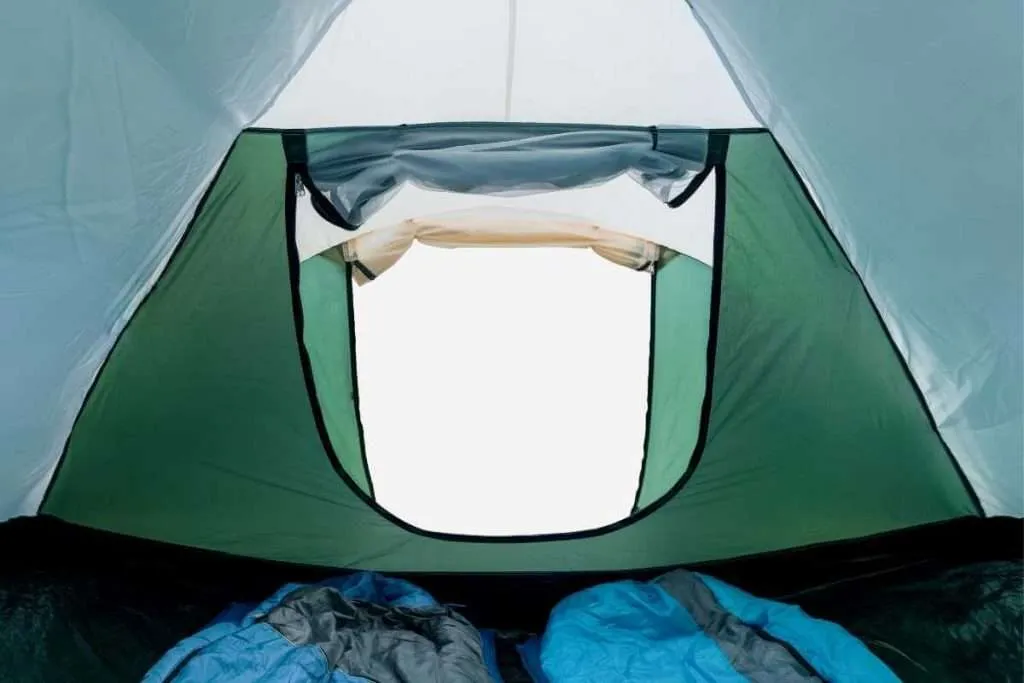
Don’t forget your sleeping gear.
It’s vital to keep your sleeping bag, air mattress or sleeping pad, and other sleeping gear dry.
Unpack these items last, so they spend minimal time exposed to the rain.
Setting up a tent in the rain can leave you soaked even if you’ve picked the right camping spot and used a tarp over your tent.
When you’re out in the wilderness, it’s essential to prioritize staying dry and warm.
Here’s how you can change into dry clothing under the tarp while camping in wet conditions.
Before starting your camping trip, it’s a smart move to pack a set of dry clothes in a waterproof bag.
To avoid discomfort and potential health issues, always keep a designated pair of camp clothes stored away from your hiking gear.
Once you’ve set up your tarp and tent, it’s time to seek shelter and change into dry clothes.
Find a spot under the tarp where the ground is dry and free from possible water intrusion.
Unpack your dry clothes from the waterproof bag and, if necessary, spread out a towel or groundsheet to stand on while changing.
Now, quickly and carefully remove your wet garments.
When possible, try to wring out water from your wet clothing before continuing.
This will help speed up the drying process later on.
Remember to put on your dry socks and shoes as well, since having cold, wet feet can affect your overall comfort and mood throughout the trip.
Hang your wet clothes on a makeshift clothesline or branches, away from your campsite but still under the protection of the tarp.
This way, your damp gear can get some air circulation and dry out more efficiently while you stay cozy in your fresh attire.
Finally, ensure that your sleeping area remains dry.
Do a thorough check of your tent for any leaks or pooled water to avoid unpleasant surprises later on.
Remember, staying dry and warm is key to having a great time outdoors.
Make changing into dry clothes under the tarp a priority to ensure a cozy and enjoyable camping trip in the rain.
KASSICO, a leading aluminum box factory in Ningbo, China, has 21 years of production experience. Since 2015, combining the advantages of camping kitchen boxes, KASSICO has expanded its business scope to outdoor camping gear and equipment, including the design and supply of camp kitchenware, camp furniture, camping tents, camping lights, and tools etc. With multiple sets of outdoor product solutions, Kassico provides customers around the world with hundreds of innovative and affordable outdoor products. We will be your reliable suppliers, and we will try our best to serve you better and to be your honest partner.